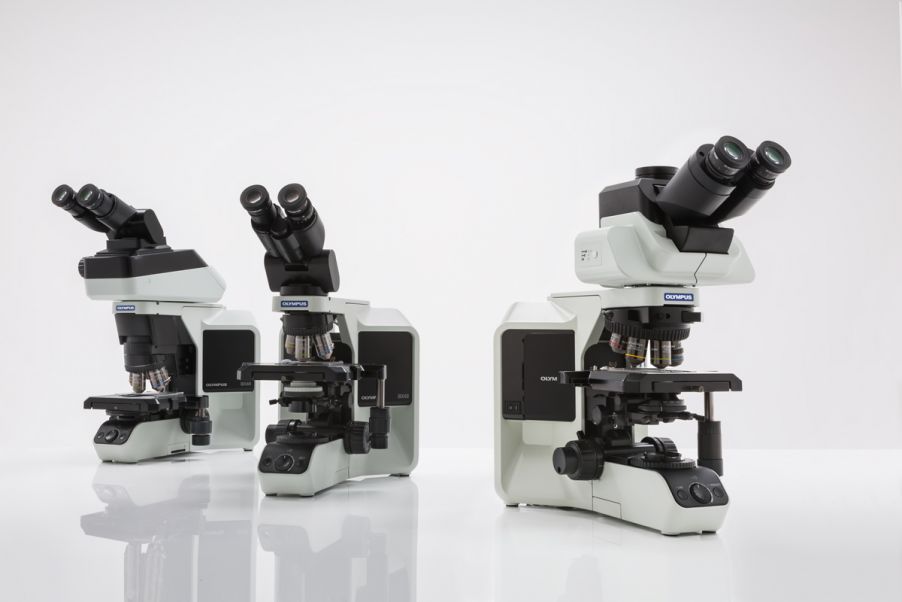
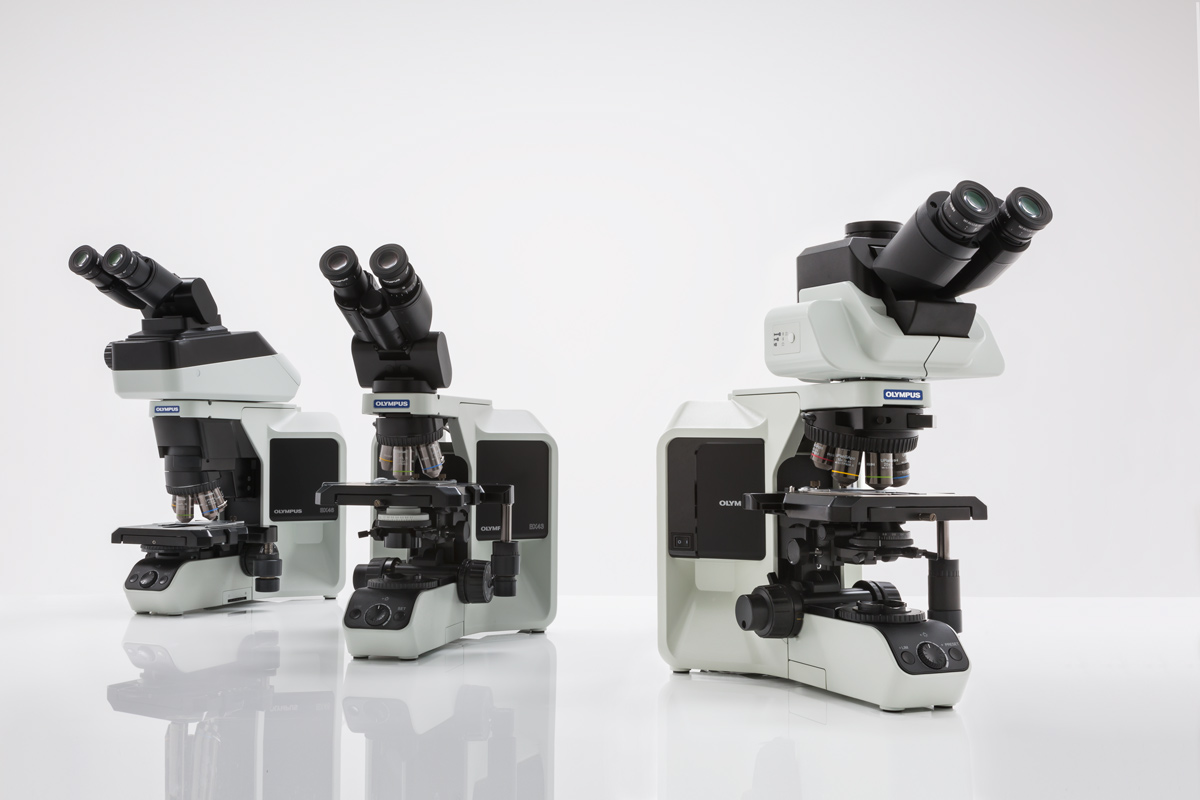
Viruses can remain infectious on surfaces like metal, glass, or plastic for hours to days. Consequently, cleaning and disinfecting your microscope regularly is important to help keep lab technicians and research staff safe and healthy.
Here are some best practices to keep your microscope and optical system clean and sterilized.
Cleaning and Disinfecting Your Microscope Frame
After you use a microscope, clean the frame if you notice any dirt and impurities on the surfaces. Next, disinfect the surface to kill any germs. Disinfecting after cleaning helps to lower the risk of spreading infection to other lab members. In particular, the eyepiece shades, stage handle, focusing knob, and nosepiece are commonly touched during microscope operation, so these parts must be cleaned and sterilized carefully.
We recommend these best practices for cleaning and disinfecting your frame:
- Cleaning the frame: To remove any stains, first wipe the frame with a piece of cloth soaked in a small amount of neutral detergent. Next, wipe the frame clean with a piece of cloth that has been immersed in lukewarm water. As you clean it, make sure not to touch the lens.
- Disinfecting the frame: We recommend applying 70% ethanol since it effectively disinfects the microscope without damaging the frame. Remember avoid using organic solvents except ethanol that may damage plastic parts.
As you clean and disinfect your microscope, always follow proper hand hygiene. Here are some important reminders:
- Wear gloves when cleaning and disinfecting the microscope frame and optics.
- Discard gloves after each cleaning, then wash your hands with soap and water for 20 seconds. If soap and water aren’t available and your hands don’t look noticeably dirty, then use an alcohol-based hand sanitizer that contains at least 60% alcohol.
Now that we’ve covered microscope frame cleaning best practices, let’s review how to properly clean the optical system.
Maintaining the Cleanliness of the Optical System
Just like with the microscope frame, always clean and disinfect your optics immediately after use. Not only does this make the equipment safe and clean for other lab members, but it removes dust and contaminants that can affect observation, damage the lens surface, and impact image quality.
We’ve compiled several steps below that can help you clean dust, dirt, and germs off the exposed areas of objectives, eyepieces, filters, and condensers. If internal or major cleaning is needed, please contact your local Olympus rep for assistance.
Steps to Clean and Disinfect Your Microscope Optical Components
- First, inspect any dust on the lens surface using a loupe. If a loupe isn’t readily available, simply use your eyepiece and hold it up to the lens surface to magnify any dust or dirt.
- After inspection, remove any dirt and dust stuck to the surface with a blower.
- Next, grab a piece of lens paper and fold it around your finger to create a point. It’s important to use lens paper for this step rather than facial tissues, lab tissues, or paper towels. Consumer tissues contain loose, coarse fibers that can scratch the lens surface or break off and remain on the lens. For optics with a smaller surface area, you can create a fine point by folding the tissue into a triangle.
- Put a small amount of lens cleaning fluid or cleaning mixture on the tip of the lens paper. We recommend 70% ethanol because it can effectively and safely clean and disinfect the surface.
- When cleaning the lens surface, wipe from the center to the periphery in a circular motion, as shown below:

Spiral wiping technique: Wipe from the center to the periphery in a circular motion
Larger surfaces, such as a glass plate, may be too large to wipe using this technique. In this case, simply hold the lens paper on the surface while rotating the object slowly and touching only the edges.
To clean the surfaces of the condenser and the light exit glass, hold a piece of lens paper between your middle and index fingers, then fold and wrap it around your index finger. Hold the tissue down with your thumb while wiping the lens surfaces clean.
As you clean your optical components, always discard each lens paper after a single use.
- Look for any remaining dust or residue using an eyepiece or loupe to confirm that the lens is clean. If color reflected from the lens surface looks uneven, this indicates that dust specks and dirt remain on the lens. In this case, begin the cleaning process again until the lens is free of contaminants.
- Once you confirm your optical accessory is clean, immediately reattach the cleaned component on your microscope to keep the system organized.
These seven steps offer basic instructions to clean your optics. If you’re working with oil, be sure to read this blog post next: 6 Tips to Properly Clean Immersion Oil off Your Objectives.
Keeping a Clean Microscope Workspace
In addition to cleaning and disinfecting the microscope and optics regularly, also consider the environment around it. Use the microscope in a clean place without vibration or tilt. The room must also be moisture-free to avoid mold and have a consistent temperature. When you store the microscope, make sure to cover it to prevent exposure to dust.
*Please note that product deterioration caused by excessive use is not covered by the warranty.


